Tuesday, March 6, 2012

Birthday Mini Album

I'm really excited about this project. Instead of making my children birthday cards I decided to make them mini albums. I wanted to create a keepsake they can look back on when they are my age. Or even better, their children can look at when they are this age.
I interviewed them and journaled their responses. It's kind of like those birthday time capsule "this is what was happening in 2012" things. I wish I had picture albums of when I was this young age so I can show my kids what I was like as a child. My mom said they all got ruined during the Flood of 1982, but I have a suspicion they didn't take many pictures of me. After all, I was the second born and all the fuss was given to the first born. Mom, if you're reading this, I hope you know I'm just kidding around. lol


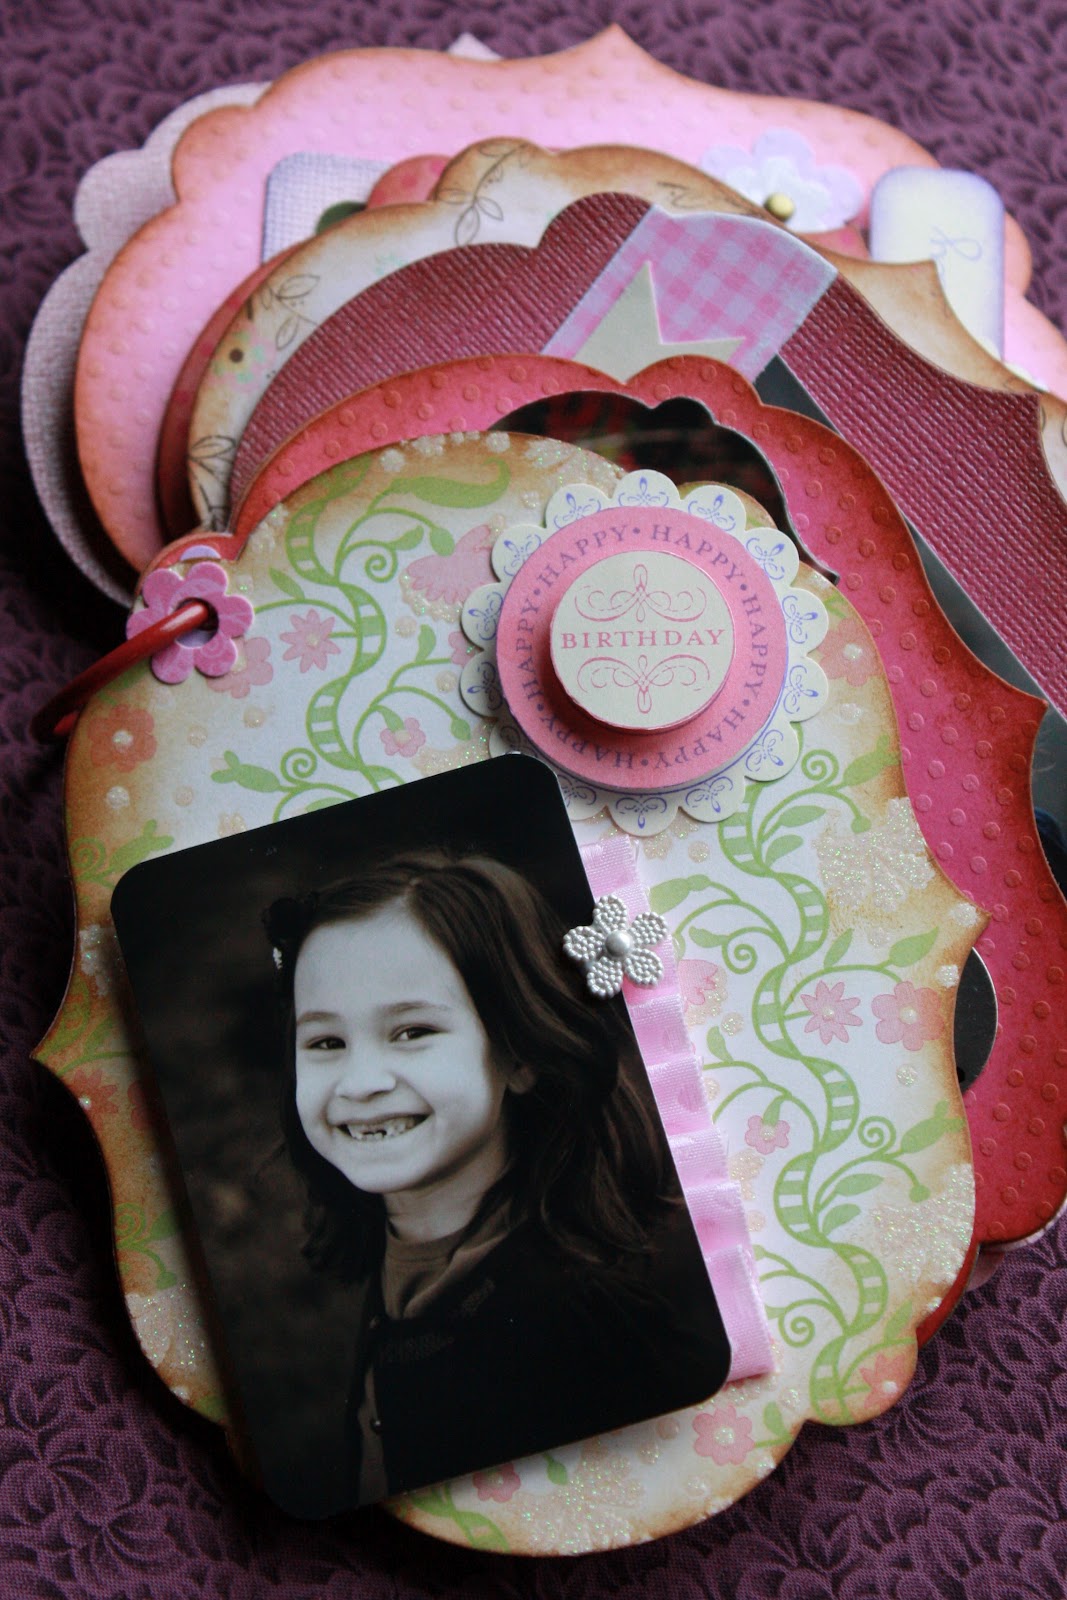
What I'm really excited about is this new SU! Framelits. They are adorable. I'm so in love with them! I edged everything with antique ink to give it that vintage look. This being a child-friendly album, I don't have to worry about them getting it dirty, it already looks worn.


My daughter got really bored during our photo shoot so she began dancing and twirling around. What a great opportunity! I captured some shots of her dancing and decided to make a film strip. I love this idea because sometimes those posed shots get so stagnant. Doing this really shows her fun and vibrant personality.


The only challenge was how to put it in this weird shaped album. I decided to accordian fold it and secure it with a latch. I made this from ribbon, buttons and embroidery floss.


Some of the questions from the interview were favorite food, favorite toy, favorite school subject, music, video game and favorite color (can you guess it was pink?) Some other things I included were the meaning and origin of her name, what is so special about the day she was born, both her Eastern and Western birth signs and their traits....well you get the picture.


I secured the mini album with one 1 1/4" metal ring. This was to my advantage because I was able to add 3-D embellishments and not worry about having to close book. It also makes it very kid friendly. Children can flip right through the pages. I made sure to reinforce the punch hole with extra glue and paper. I wouldn't want any pages to tear away.


I'm not sure about this color combination, but I got so sick of pink. I definitely raised a princess.....Everything is pink with pink glitter and pink bling with a pink cherry on top! For this page, I added blue with black flowers. It sure is different, but I think it works. I added a bit of glitter to the flower centers.

I hope this inspires you as you have all inspired me. Thank you for stopping by!

Wednesday, February 29, 2012

Congratulations Wedding Card


My friend just got married on Valentine's Day. I made this card using the same layout as my last card, except I used the edge instead of the border in silver metallic card stock. I used white on white attaching the Framelits Labels which I ran through Sizzix Starry Night #2 Textured Embossing Folder.
Detail of the embossing accent.

Monday, February 27, 2012

Happy 40th Birthday Card

This card was a challenge for me. Making guys cards look nice without looking too feminine. I usually like to add flowers, buttons, brads and ribbons.
To make the card I cut out 40 using a Cricut in silver card stock. I cut white card stock using SU! Framelits Labels then ran it through the embossing folder. See detail below.


Also, I just fell in love with this new border punch. It's by ek success brands. It's a 2 in 1 punch. It can be a border or it can be an edge depending on what setting it's on. Not too girly, right? I think the black, white and gray looks a little grim for a birthday card, but I figure he's turning 40 so I kind of wanted to emphasize that he's over the hill. Hahaha.

Friday, February 24, 2012

Buttons Part III

Simple Thank You Card

I made this simple Thank You card using SU! new flower and punch combo. I put a cute pearl button in the center. It fit the stamp image so perfectly. I kept it neutral and simple. Again, I used a Sizzix Textured Impressions Embossing Folder. I just love those.
Have a great weekend!

Wednesday, February 22, 2012

Buttons Part II


I made the same layout, same card, different colors. This one is for a dear loved one's birthday that is four days before St. Patricks' Day. I didn't really mean for it to come out so green. I make a lot of cards this color because green is my favorite color. Green is pretty neutral and not too girly. For the card base I used white card stock. Tap all over lightly with VersaMagic Tea Leaves ink pad. You want to use a fairly dry ink pad otherwise the white won't show through as well when you sand it. I ran it through the embossing folder and then lightly sanded just the peaks with sand paper to bring out the white. For the lower right flower I basted along one side of the ribbon, gathered  the ribbon to create a flower, then sewed the button to the middle.
Materials used:
SU! Apothecary Art set, Framelits Labels, Old Olive ink pad, Mellow Moss ink pad, Celery card stock
VersaMagic Tea Leaves stamp pad
Sizzix Starry Night #2 Embossing Folder
White card stock, clear button, silver brads, mini flower punch, 1/2" x 6" green/white ribbon
Ribbon flower detail with button
Stay tuned for more buttons.

Tuesday, February 21, 2012

Button Craze


I'm really into flowers nowadays. They are so easy to make and really give your cards a pop! The buttons make for a great center and I went crazy at the fabric store this past week finding some nice ones. Also, I just received my order from SU! and am really excited about their new framelits. To make this I first embossed the kraft colored card using an embossing folder. I love using embossing folders. It gives your background dimension without adding color. Very subtle. I distressed all pieces before assembling to give it that aged vintage look. Also very in right now. For the lower right flower I cut a 12" x 3/4" strip of DSP and scored it every 1/4"; accordion folded and then secured it onto the card and added the button.

Paper flower detail and button


Materials used:
SU! Framelits Labels, First Edition DSP, Apothecary Art set, Marina Mist ink, Brocade Blue ink
Jim Holtz Vintage Photo Distress Ink
Bazzil Kraft Card stock
Sizzix Snow Flowers Embossing Folder

Well, thanks for sticking with me. I know it's been a while since I last posted. Life has been crazy busy as I'm sure you all know as well.

Thanks for stopping by! Have a great day!

Monday, December 5, 2011

Christmas Gingerbread House

Here is an inexpensive kids craft for you to do. It's fun because each kid gets their own house to decorate and there's no fighting over creative differences. The houses are made out of graham crackers instead of gingerbread. We used pint sized milk cartons as the house structure and "glued" the crackers on using royal icing. As soon as I was done making the house structure the kids went crazy decorating them with candy. Use royal icing to "glue" the candy onto the house. My 4 year old son has a good imagination and he was very creative. He used a jolly rancher for the chimney. I loved it so much I had to copy him. Finally, I dusted everything with shredded coconut to make it look like snow. You could try using powdered sugar on the roof top to look like snow as well. I posed my daughter's mini doll for the pictures. It was the perfect size. We lined all our finished houses up and made a mini village.

Happy Holidays!

Mini La La Loopsy sitting in front of her new candy home